Products
Solutions
Resources
9977 N 90th Street, Suite 250 Scottsdale, AZ 85258 | 1-800-637-7496
© 2024 InEight, Inc. All Rights Reserved | Privacy Statement | Terms of Service | Cookie Policy | Do not sell/share my information

In Explore, you can create folders to organize the various types of dashboards you create. This can help to easily identify dashboards you may refer to on a weekly basis versus monthly basis or dashboards you create for an executive level versus a field operations level. In a later lesson, you will learn how to modify and create these additional dashboards.
The following Step by Step walks through the two ways you can create a dashboard folder.
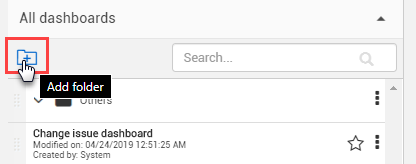
From the Dashboards page, click the Add Folder  icon to add a folder.
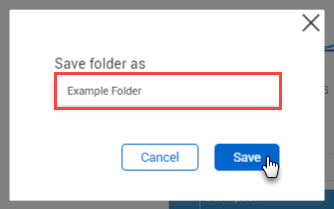
In the Save Folder As field, type Example Folder, and then click Save.

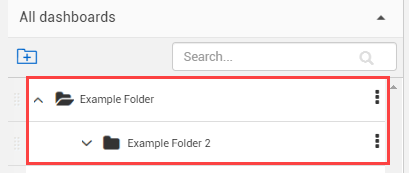
Click the three Ellipses Context menu icon to the right of the new Example Folder.
Click Add Folder.

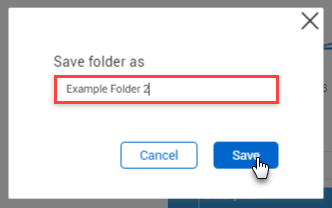
In the Save folder As field, type Example Folder 2, and then click Save.
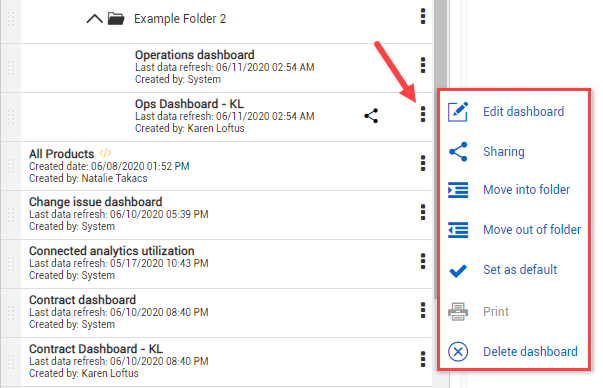
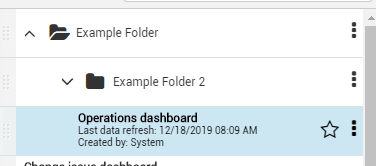
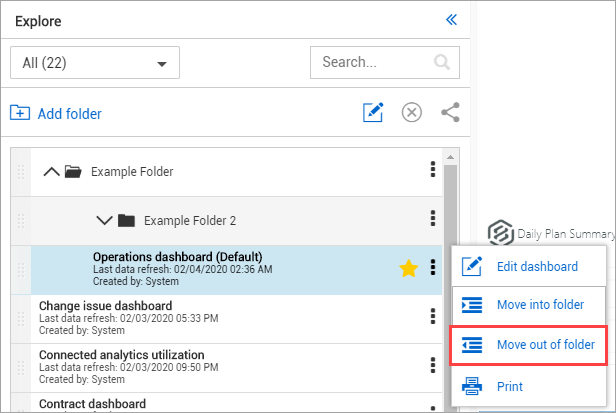
Besides adding folders, you can edit, share, move, set as the default dashboard or delete the dashboard via this same Context menu icon.
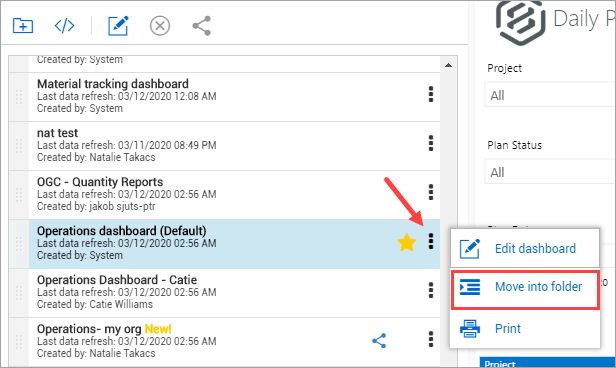
The following steps walk you through how to move a dashboard into a folder.
Click Move into Folder.
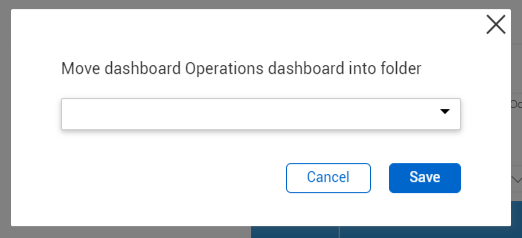
A dialog box opens with a drop-down list to select the folder for which you want to move the dashboard into
Click the drop-down arrow, and then select Example Folder.
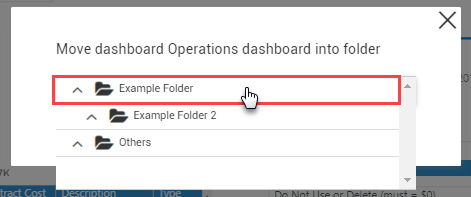
Click Save.
You can use the same Context menu icon to remove a dashboard from a folder.
Additional Information
9977 N 90th Street, Suite 250 Scottsdale, AZ 85258 | 1-800-637-7496
© 2024 InEight, Inc. All Rights Reserved | Privacy Statement | Terms of Service | Cookie Policy | Do not sell/share my information